
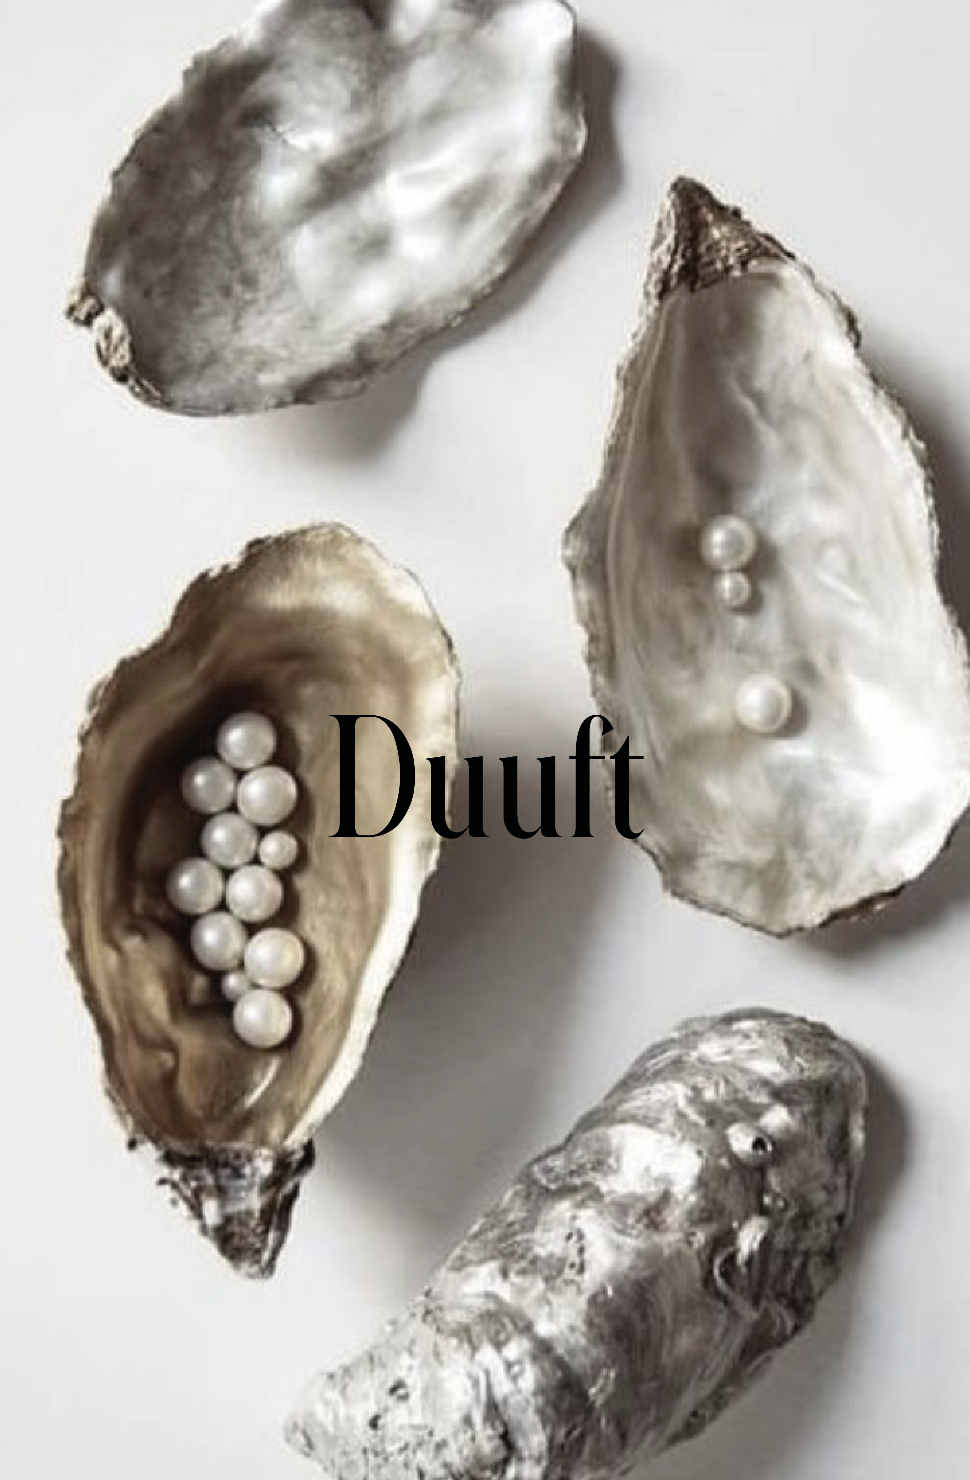
How to make your own scented candles in shells?
Are you looking for a unique and personal way to make scented candles? This creative DIY project combines the beauty of nature with the soothing effects of essential oils, creating small, environmentally friendly scented candles that can be used to set the mood in your home or given as a personal gift. In this post, we will show you how to make your own shell-scented candles, step by step!

What you will need:
1: Shells (you can use large scallop shells or oyster shells)
2: Soy wax or beeswax - Or you can melt down old candles you have at home
3: Scented oil or essential oils of your choice
4: Wicks (cotton wicks work well for small scented candles)
5: A small saucepan and a heatproof container for melting the wax
6: A stick, bamboo rod, or other support to hold the wick in place
7: Small scissors to trim the wick
Step 1: Prepare the shells
Before you start, make sure the shells are clean and dry. If you collected the shells yourself, it's a good idea to wash them gently with warm water and dry them thoroughly before you begin. Place the shells on a protective surface (such as newspaper or a plastic mat) to avoid spills.
Step 2: Melt the wax
Melt the soy wax or beeswax in a heatproof container, such as a glass jar or a metal container, placed in a saucepan of water (double boiler method). This gives you better control over the temperature and prevents the wax from getting too hot. Make sure the container does not touch the bottom of the saucepan, as this can cause the wax to melt too quickly or burn. Once the wax is completely melted, you can add essential oils or fragrance oils of your choice. A good rule of thumb is to use about 20-30 drops of oil per 100 grams of wax, but you can adjust the amount according to how strong you want the scent to be. Remember that some essential oils can be more intense than others, so experiment to find the perfect balance!
Step 3: Prepare the wicks
While the wax is melting, you can prepare the wicks. Take a wick and cut it to the appropriate length so that it fits into the shells with a small overhang at the top (about 1-2 cm). To ensure the wick stays in place in the shells, you can attach it by dipping it in a little melted wax and letting it harden for a moment before securing it to the bottom of the shells. Use a stick or bamboo rod to hold the wick in the center while the wax is being poured.
Step 4: Pour the wax into the shells
Once the wax is melted and the fragrance is added, it's time to carefully pour the wax into the shells. Pour the wax slowly, being careful not to overfill. Leave a small gap at the top of the shells, as the wax will expand slightly as it hardens. To avoid air bubbles, pour the wax in small amounts and allow a minute between each pour.
Step 5: Let the wax harden
Let the candles sit for a couple of hours until the wax has completely hardened. Make sure they are on a flat surface so they don't become crooked. If you see a small indentation forming on top of the wax, you can heat up a little more melted wax and fill it in to get a smooth and neat result.
Step 6: Trim the wick and decorate
Once the wax has hardened, you can trim the wick to the desired length, usually about 1 cm above the wax. If you want to decorate your candles, you can add small decorative elements such as dried flowers, small stones, or glitter (that is compatible with wax). Remember that anything you add should not be flammable, so be careful what you use for decoration.
Step 7: Enjoy your homemade scented candles
Now the candles are ready to use! Light them to enjoy the relaxing scent, or give them as a creative and personal gift to someone you care about.
Making scented candles in shells is a simple, creative, and sustainable way to add a unique touch to your home. Whether you make the candles for yourself or give them as gifts, you will undoubtedly receive a lot of praise for your craftsmanship. So why not give it a try next time you want to create something personal and environmentally friendly? It's a perfect project for both beginners and experienced DIY enthusiasts!
Good luck with your scented candle project!
